Sinter-2 Core Inspection Gauge
I delivered a key tool to ensure seamless production.
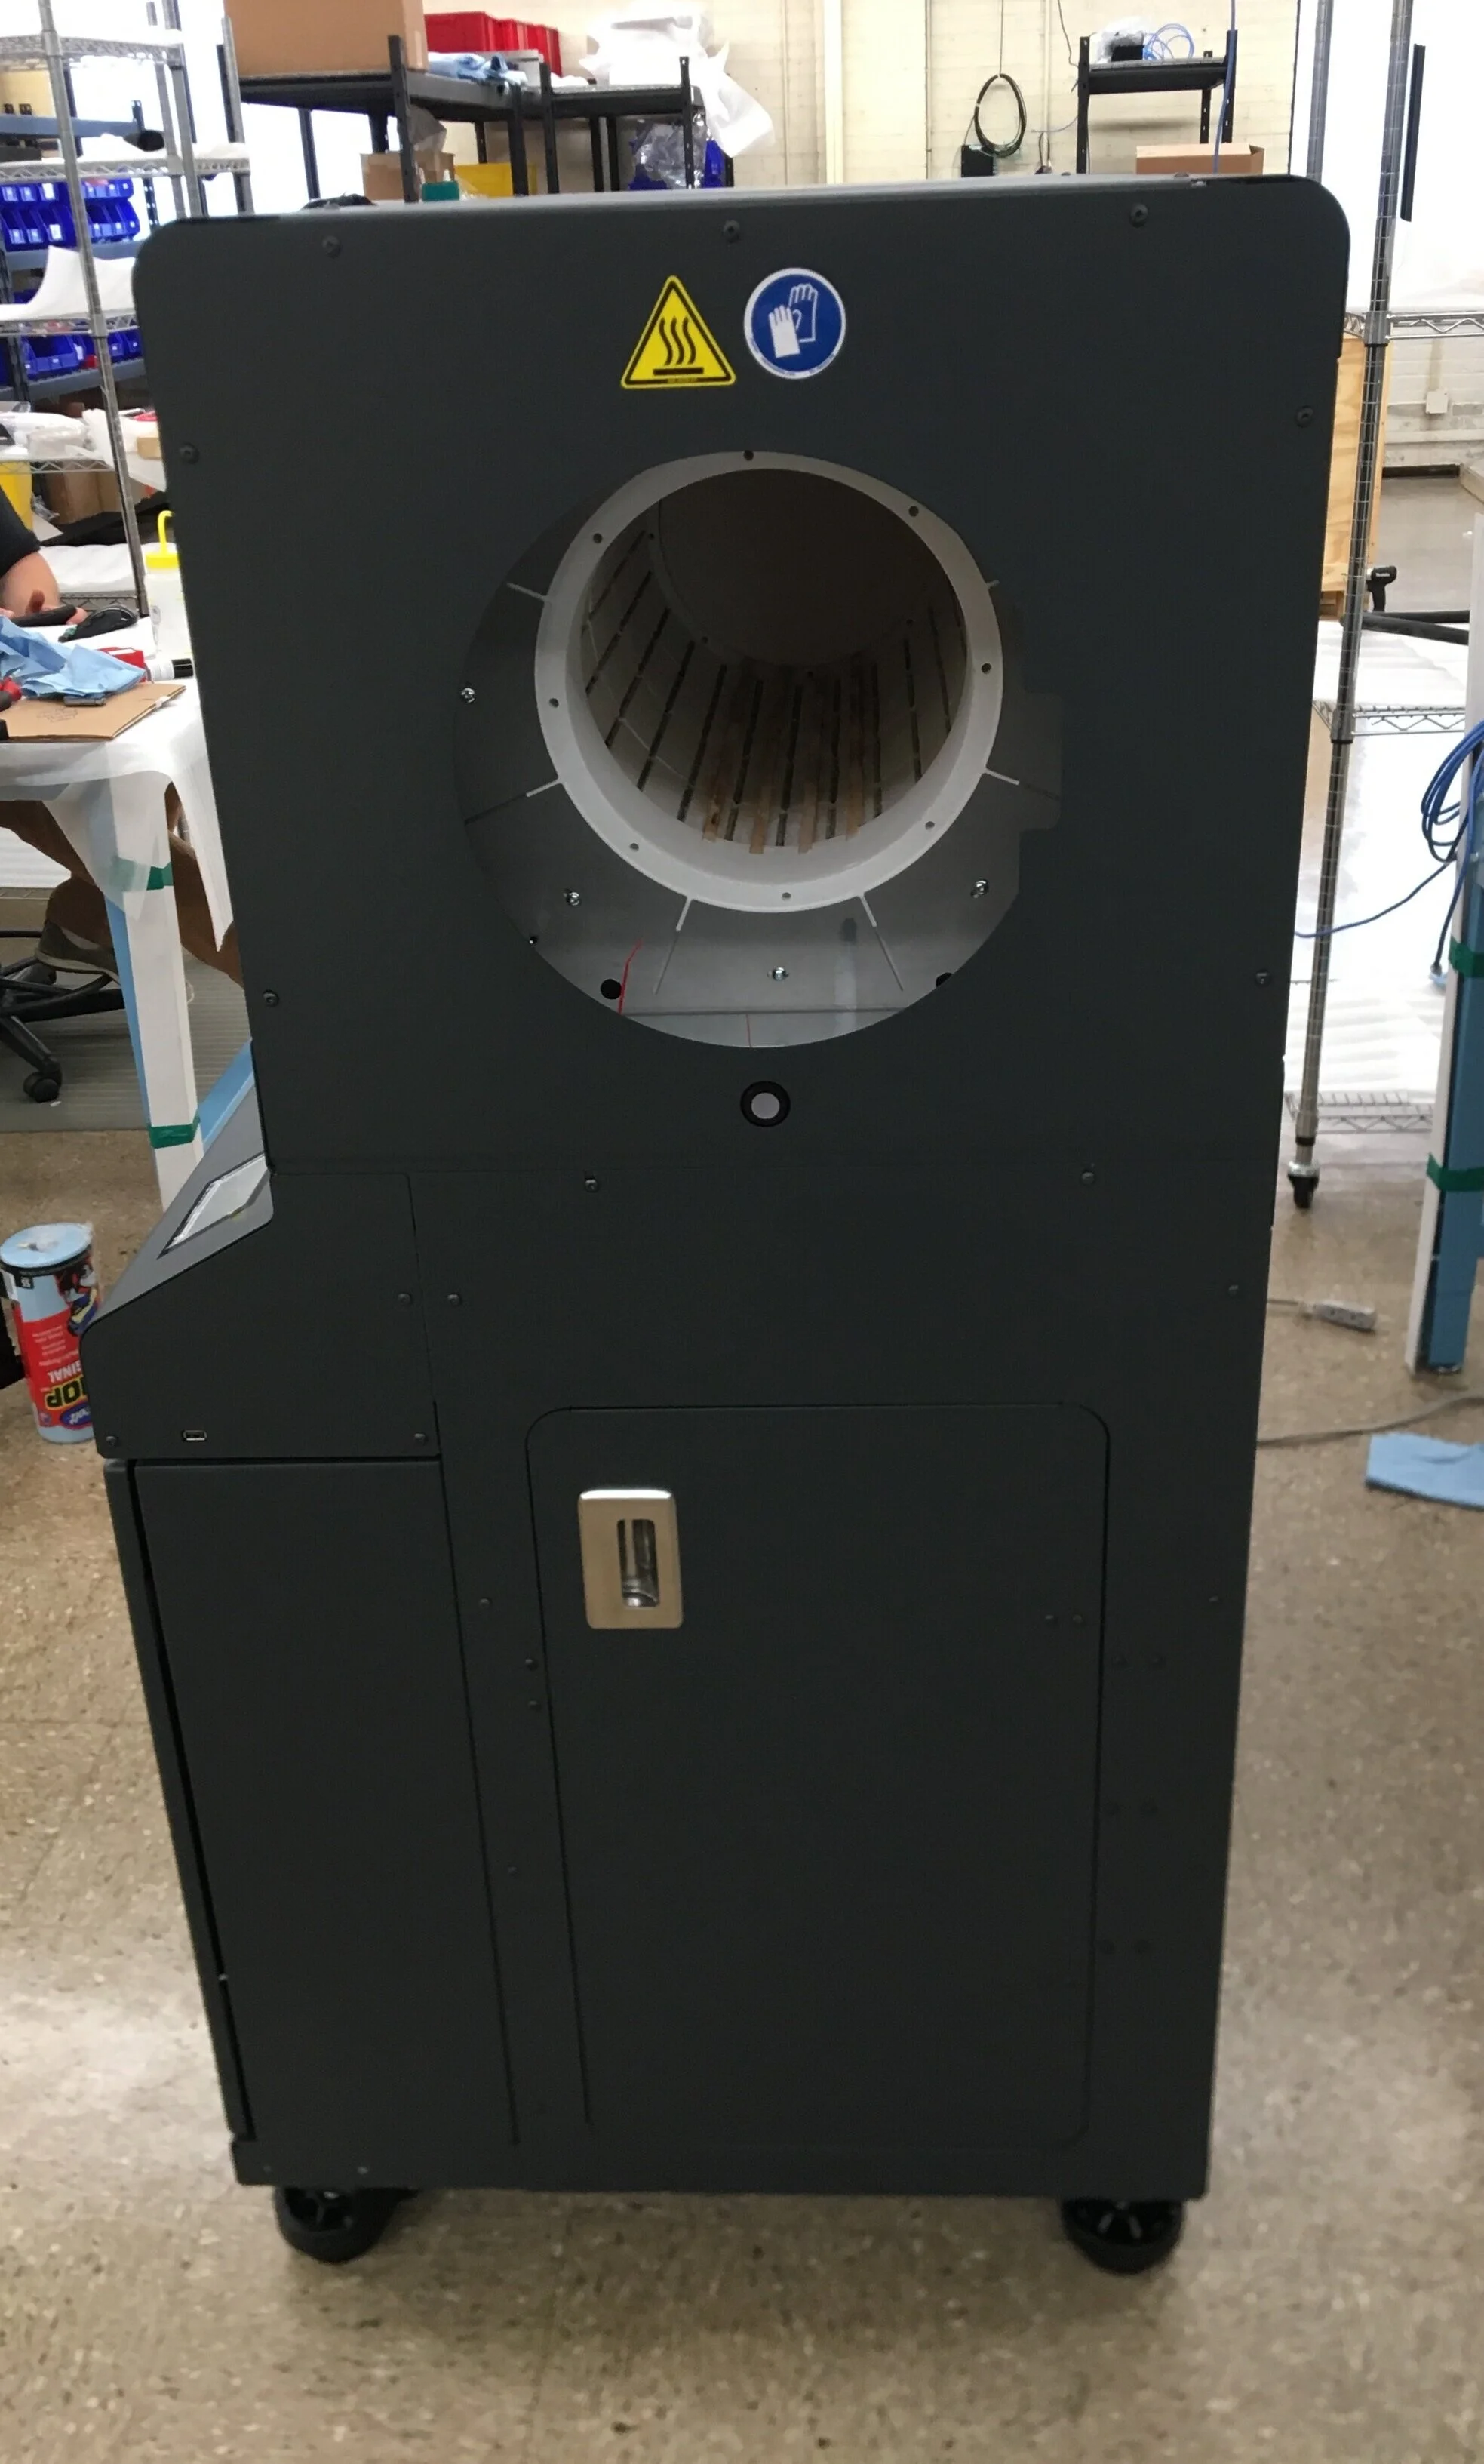
Our furnaces at Markforged are made of insulated cores, similar to typical laboratory furnaces. The photo to the left shows a sideview of a Sinter-2 furnace without the heating retort, where the white core is visible. This white inner tube is what our production team had to measure quickly and effectively.
The core is the largest part of the furnace. It’s a 3 ft long tube of 10.35” inner diameter, tightly toleranced to +/- 1% and made of a ceramic-like material. The material is very brittle and dangerous if inhaled, so consecutive measurements had to be easy, safe to perform, and cause minimal damage to the core.
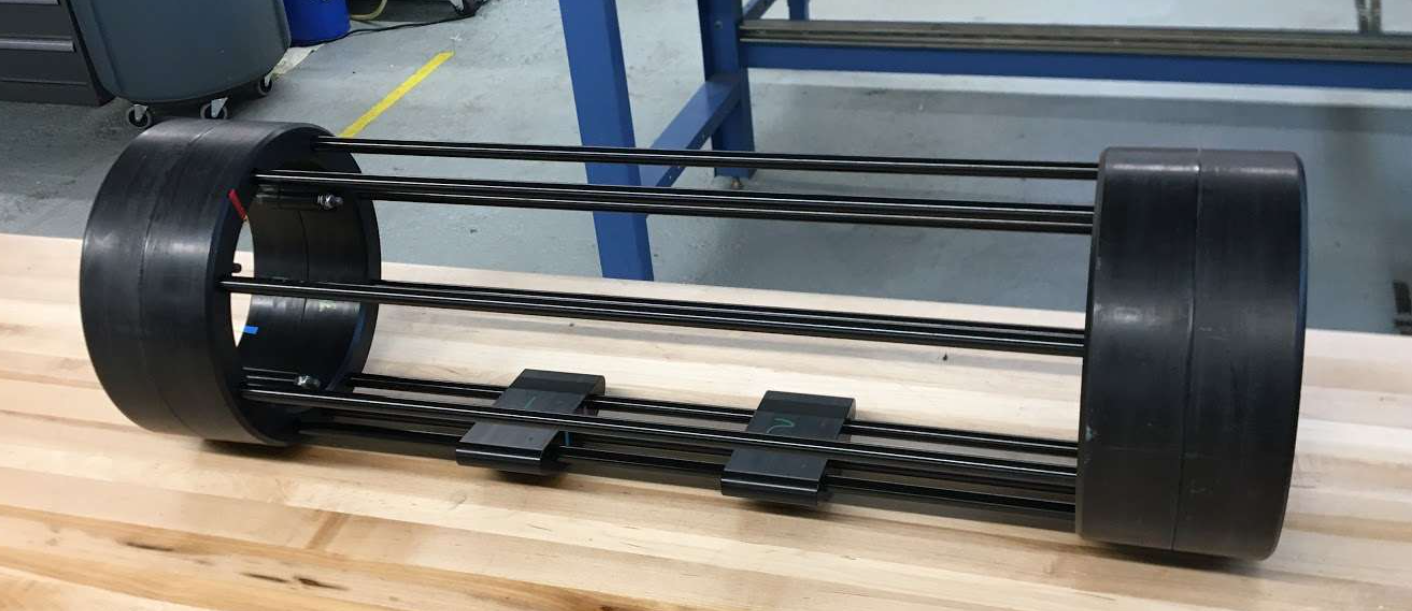
The required tool needed to measure the inner diameter of the core and the length simultaneously. So I designed a large gauge pin/go-nogo gauge. Obviously, this gauge needed to be lightweight, so I started with two 3d printed plastic rings connected with aluminum rods.
I found the 3d printed prototype gauge was out of spec and was actually slightly elliptical in shape - either due to issues in materials or the printing process itself.
I tested these hypotheses by printing several thinner rings at different orientations in the printer. I measured the test parts immediately after printing and took another measurement after a few days - to account for any atmospheric moisture that might have gotten absorbed into the nylon-based printed material.
After concluding the 3d printed versions were just not accurate enough at that large size, I redesigned the gauge to accept machined Delrin end caps - which would be much more precise.
I assisted in the machining process, inspecting parts and troubleshooting issues along the way with our machinist. I assembled the final version and sent the gauge to our production vendor with an inspection report.
With the gauge in hand, the manufacturing team was able to keep their line running and avoid significant delays in production. This led to production uptime and many happy customers.
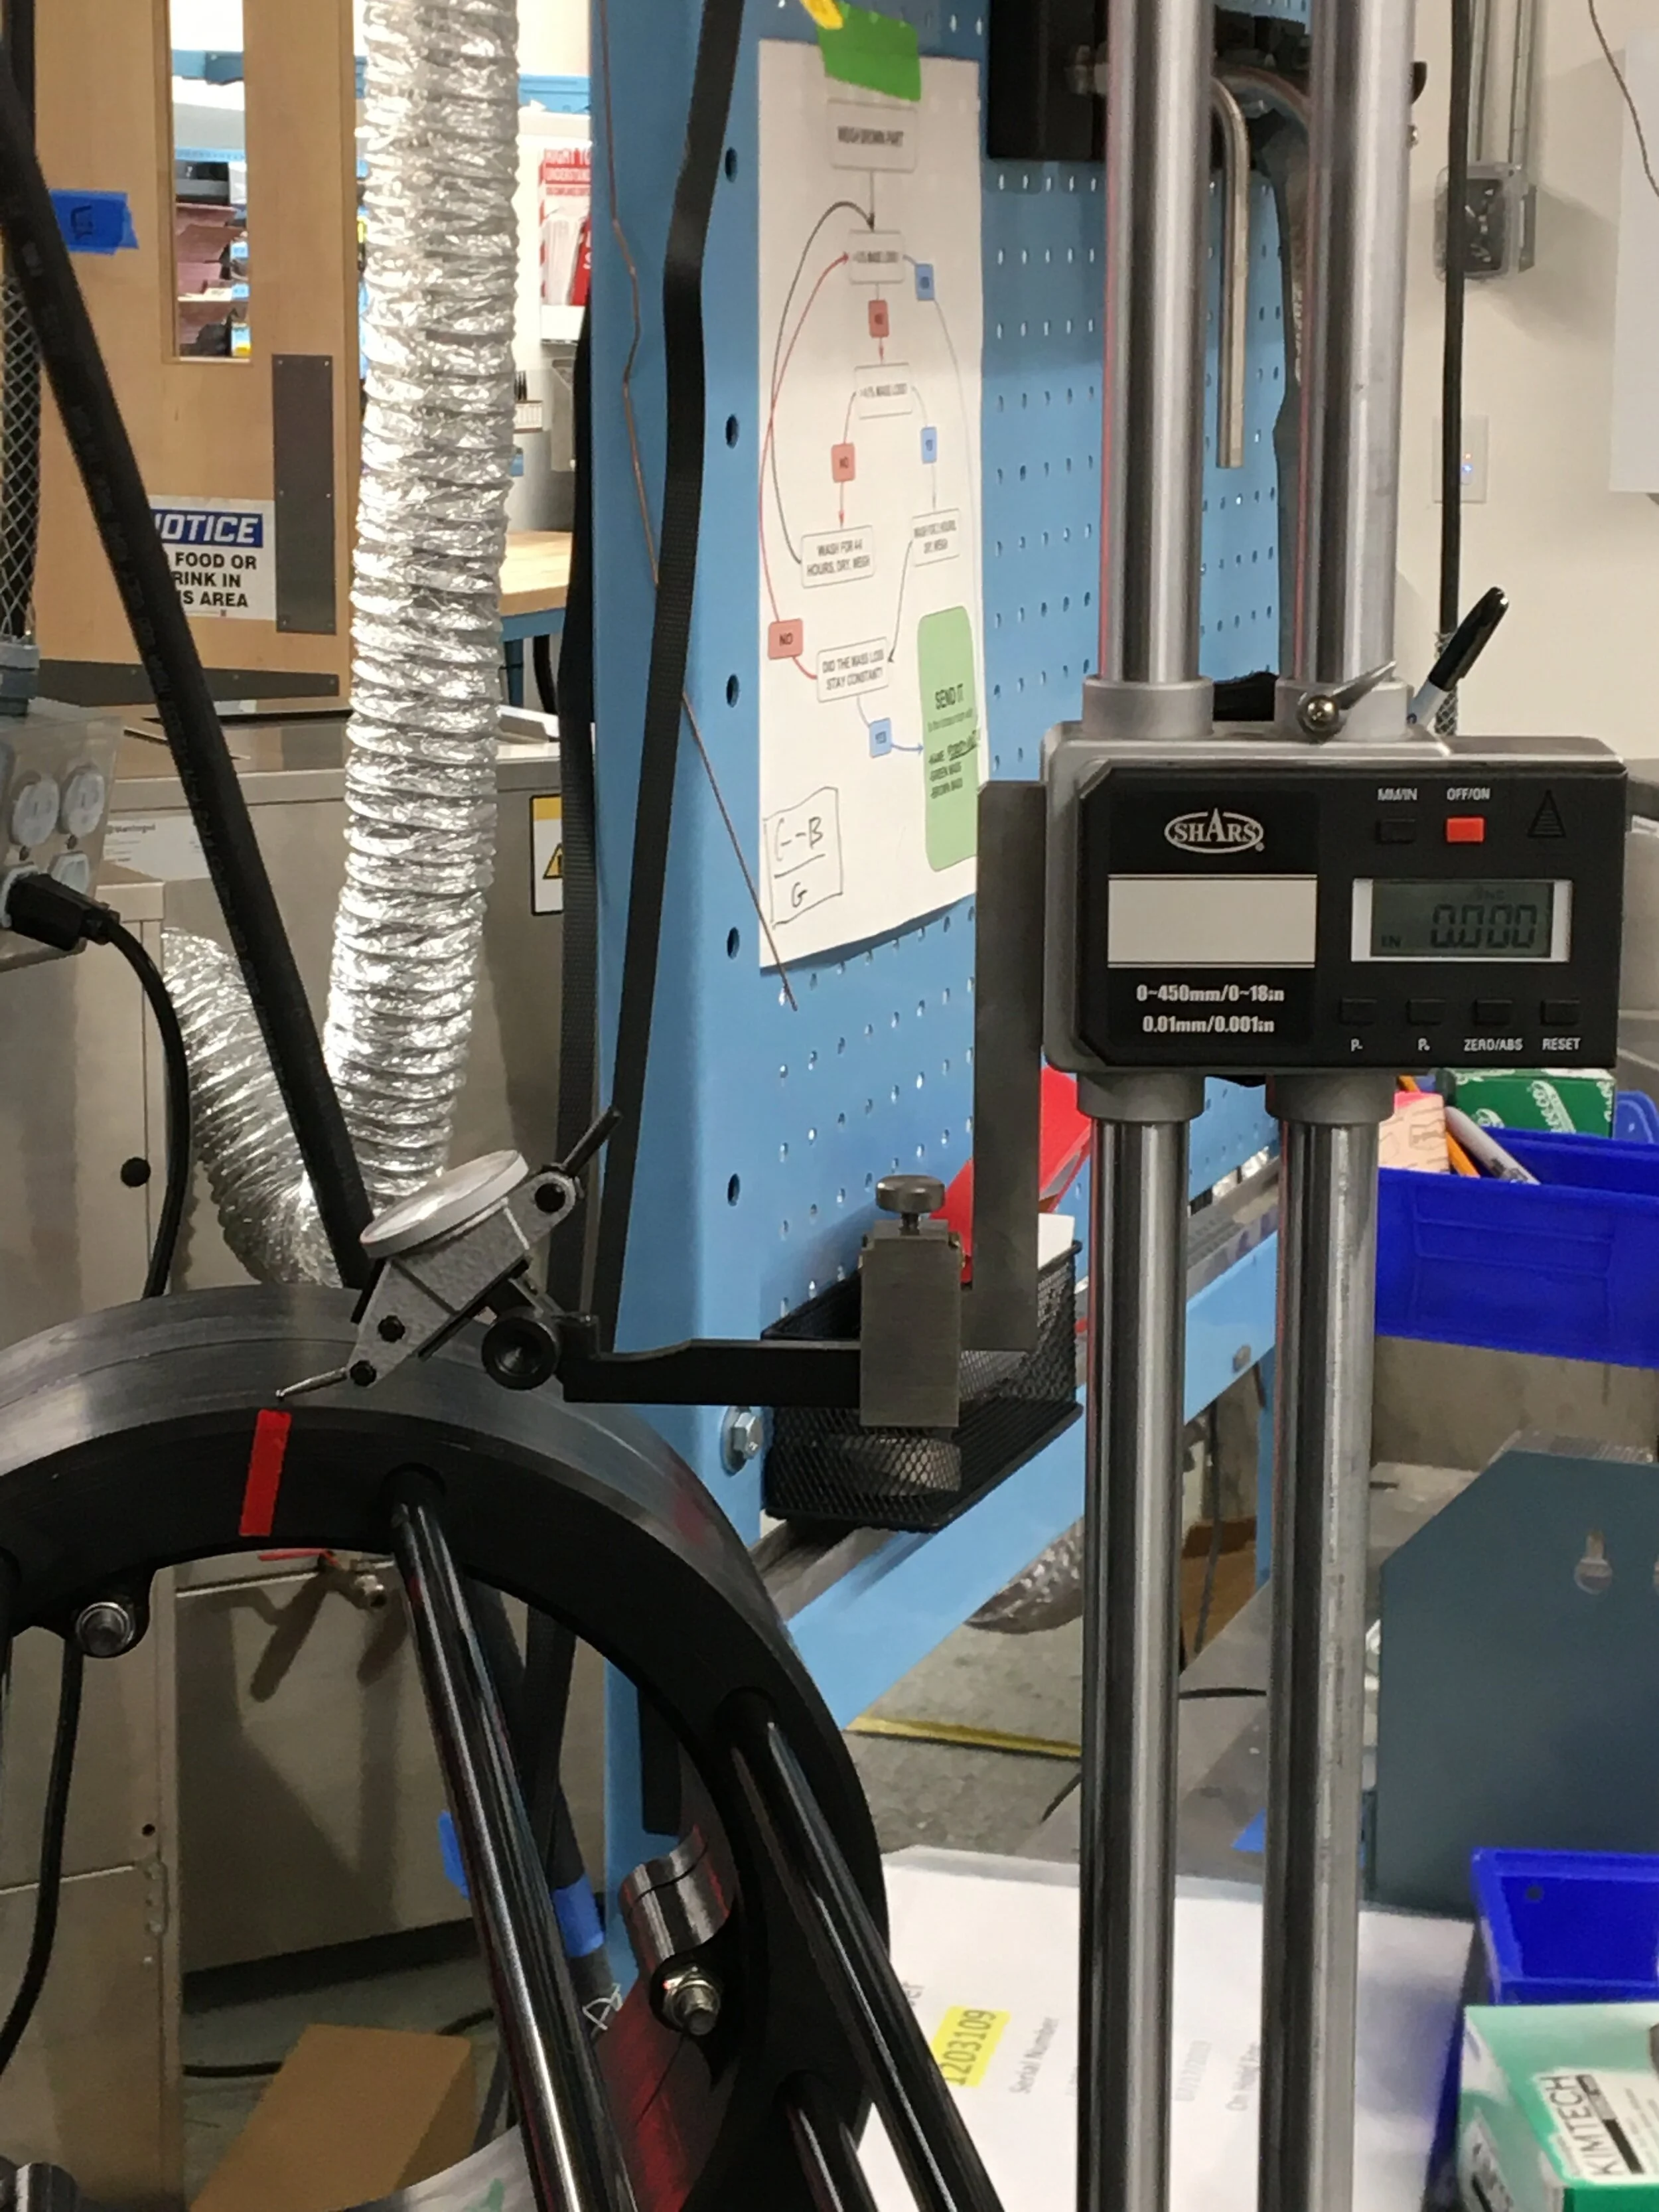
Inspecting the gauge outer diameter. Multiple measuring points were necessary to ensure it was in-spec.
Checking for ellipticity.


